


Maintaining your well water system is essential for the overall functionality of your home, especially if you rely on a private well for your water supply. One of the most critical components of a well pressure tank is the pressure tank’s bladder. The bladder helps regulate water pressure by separating water and air, ensuring consistent flow throughout your home. If the bladder fails, it can lead to fluctuating water pressure, frequent pump cycling, and even premature tank failure. Regular checks of your pressure tank can prevent these issues, saving you from expensive repairs.
In this guide, we’ll show you how to check the pressure tank bladder, troubleshoot common issues, and maintain the health of your pressure tank. Whether you’re dealing with a waterlogged bladder pressure tank or low air pressure, this step-by-step process will help ensure your pressure tank works as it should.
If you’re unsure about checking your pressure tank’s bladder or facing persistent issues with your well pressure tank, don’t hesitate to contact the experts at Housatonic Valley Well Pump Services. We offer professional inspections and repairs in New Milford, CT, and surrounding areas.
What is a Pressure Tank Bladder?
Before you start checking your pressure tank bladder, it’s essential to understand what it is and how it functions. The bladder pressure tank in your well system is responsible for maintaining consistent water pressure. The pressure tank holds air and water in separate compartments, with a flexible bladder separating the two. When you use water in your home, the pressure tank’s bladder compresses, forcing water into the pipes. When no water is being used, the bladder maintains pressure, preventing the pump from turning on and off frequently.
Over time, the bladder tank can fail, often due to wear and tear or waterlogged tank conditions, leading to inconsistent tank pressure and inefficient well system performance. Regular checks can help you identify issues before they lead to system breakdowns.
Why Checking Your Pressure Tank Bladder is Important
Checking your pressure tank’s bladder is a simple but important task in maintaining your well system. If your bladder pressure tank is not functioning correctly, it can lead to various problems, such as frequent cycling of the pump motor, inconsistent water pressure, and even premature tank failure. Additionally, if the pressure switch setting is off or the air valve is clogged, your well pressure system may not function properly.
Here’s why you should check your pressure tank regularly:
- Prevents Pump Cycling: An improper pressure switch setting or a malfunctioning bladder can cause the pump to turn on and off repeatedly, which stresses the well pump and reduces its lifespan.
- Ensures Consistent Water Pressure: A properly charged bladder pressure tank ensures your water pressure remains steady, preventing surges or drops when using water.
- Avoids Expensive Repairs: Identifying and fixing pressure tank issues early can save you from costly repairs or the need for a new tank.
If you’re experiencing issues with your well tank’s pressure or noticing frequent cycling, it may be time to check your bladder tank or call a professional to help.
Step-by-Step Guide: How to Check Your Pressure Tank Bladder
Checking your pressure tank bladder is a straightforward process. With the right tools and a bit of patience, you can perform this task yourself. Here’s a step-by-step guide on how to check your well pressure tank and its bladder.
Step 1: Turn Off the Power and Drain the Tank
The first step is to turn off the power to your well pump. You can do this by switching off the circuit breaker that controls your pump to avoid any electrical hazards. Once the power is off, you’ll need to drain the tank to release any water pressure. Open the drain valve or faucet nearest to the tank to let out the water. This step is crucial for ensuring safety while handling the bladder.
Step 2: Check the Air Pressure in the Bladder
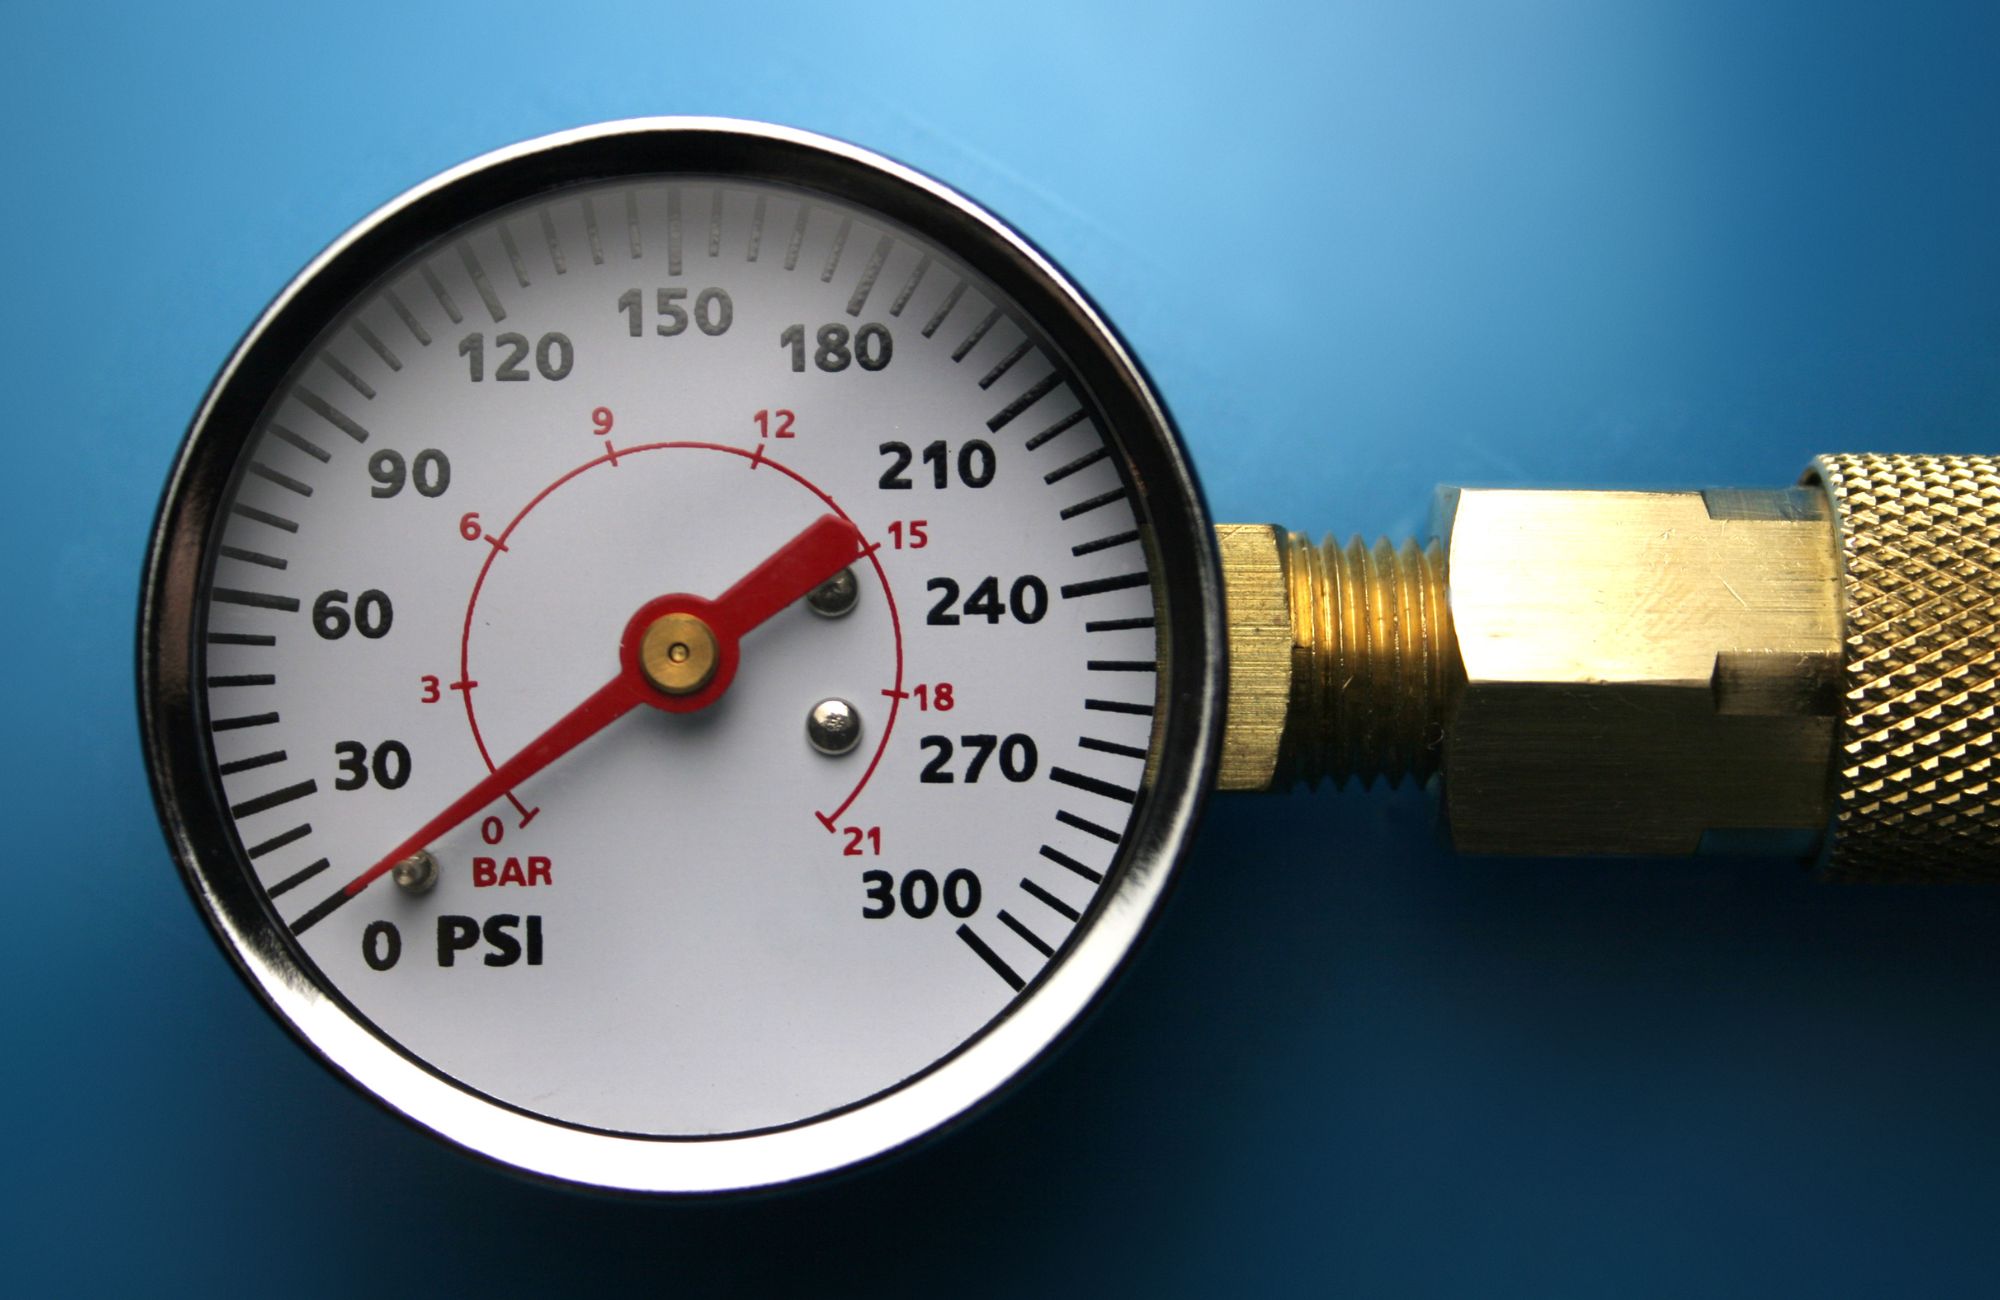
After draining the tank, the next step is to check the air pressure in the bladder. Use an air pressure gauge (you can use a tire gauge or a pressure gauge designed for pressurized air) to measure the air in the pressure tank. Attach the gauge to the air valve or Schrader valve on top of the tank.
The pressure in the tank should be about 2 psi below the pump’s cut-in pressure. For example, if your pump cut-in pressure is set at 40 psi, the bladder should have 38 psi of air pressure. This balance is important for maintaining proper water flow and preventing pump cycling.
Step 3: Adjust the Air Pressure
If the air pressure is too low, you’ll need to add air to the bladder. You can use an air compressor or even a bicycle pump for this. Attach the air compressor to the valve and inflate the bladder to the correct pressure. Be careful not to overfill it, as this can cause problems with your system.
If the pressure in the tank is too high, you can use a tire gauge to release air. Press the valve stem to let out some pressurized air until the pressure reaches the correct level.
Step 4: Restore Power and Test the System
Once you’ve adjusted the pressure in your bladder, it’s time to restore power to your well system. Flip the circuit breaker back on and check the water flow at a nearby faucet. You should notice more consistent water pressure if the bladder pressure tank is functioning correctly. If there’s no improvement, you may need to consider replacing the bladder or contacting a professional.
Common Problems and Solutions for Pressure Tank Bladders
Even with regular maintenance, issues can arise with bladder tanks. Here are some common problems and their solutions:
- Waterlogged Bladder: If the bladder becomes waterlogged, it won’t function correctly. Symptoms include the pump running constantly or failing to turn off. In this case, you’ll need to replace the bladder.
- Pressure Loss: If the pressure in the tank drops or fluctuates, it may indicate that the bladder is failing or that the air charge is incorrect. Check the air pressure and add air if necessary. If the issue persists, the bladder may need to be replaced.
- Ruptured Bladder: A ruptured bladder will lead to complete system failure. Symptoms include zero pressure and inconsistent water flow. If this happens, the bladder will need to be replaced by a professional.
When to Call a Professional for Your Pressure Tank Bladder
While checking and adjusting your pressure tank bladder can be a DIY task, there are situations when it’s best to call a professional. If you’re unsure about the pressure switch setting, if the bladder seems damaged, or if you’re not comfortable handling pressurized systems, it’s safer to contact an expert.
Conclusion
Regular checks of your pressure tank bladder are essential for maintaining stable water pressure and preventing unnecessary pump cycling. By following the steps outlined in this guide, you can ensure that your well system remains efficient and problem-free. Whether you’re addressing low air pressure, waterlogged bladder pressure tanks, or other common issues, staying on top of maintenance will help you avoid costly repairs and extend the lifespan of your well system. Make sure to regularly check the air pressure, adjust it when necessary, and watch for signs of tank failure to keep everything running smoothly.
At Housatonic Valley Well Pump Services, we specialize in well pressure tank inspections and repairs. Our team can quickly assess the health of your bladder tank, adjust air pressure, and perform any necessary replacements. If you’re in New Milford, CT, or nearby towns like Danbury, Brookfield, or Litchfield, we offer prompt, reliable service to keep your well system functioning properly. Contact us today to schedule your bladder inspection or well pump service.
FAQs
How do I know if my pressure tank bladder is bad?
A bad pressure tank bladder often shows signs like fluctuating water pressure, the pump turning on and off frequently, or zero pressure. If you notice these symptoms, it’s best to contact a professional to inspect the bladder and perform any necessary repairs.
How do I check the pressure in a bladder tank?
To check the pressure in a bladder tank, use an air pressure gauge or tire gauge to measure the air pressure at the Schrader valve. The pressure should be 2 psi below the cut-in pressure of your pump, typically around 40 psi. If the pressure is too low or too high, adjust it accordingly.
How do I test a bladder expansion tank?
Testing a bladder expansion tank involves checking the air pressure using a pressure gauge. If the pressure is low or fluctuating, it may indicate a problem with the bladder. A properly functioning bladder will maintain stable air pressure and prevent erratic water flow.
How do I tell if a RO tank bladder is bad?
A bad RO tank bladder will often show signs like low water flow, irregular pressure, or a tank that never refills properly. If you notice these issues, the bladder may need to be replaced.