


If you rely on a private well for your home’s water supply, the pressure switch is one of the most important and often overlooked components in your system. This small device acts as the brain of your well pump, turning it on and off based on water pressure levels in your tank. A faulty switch can lead to fluctuating water pressure, short cycling, or even complete loss of water service. Knowing how to test a pressure switch on a well is an essential skill for homeowners who want to keep their water systems reliable and avoid costly emergency repairs.
In this guide, we’ll walk through exactly how a pressure switch works, the signs it may be failing, and the step-by-step process for testing and adjusting it. We’ll also share troubleshooting tips, preventative maintenance advice, and professional insights from licensed well pump specialists. Whether you’re a confident DIYer or just want to understand what’s going on before calling a plumber, this article will give you the knowledge you need to make informed decisions about your well system.
What Is a Well Pressure Switch?
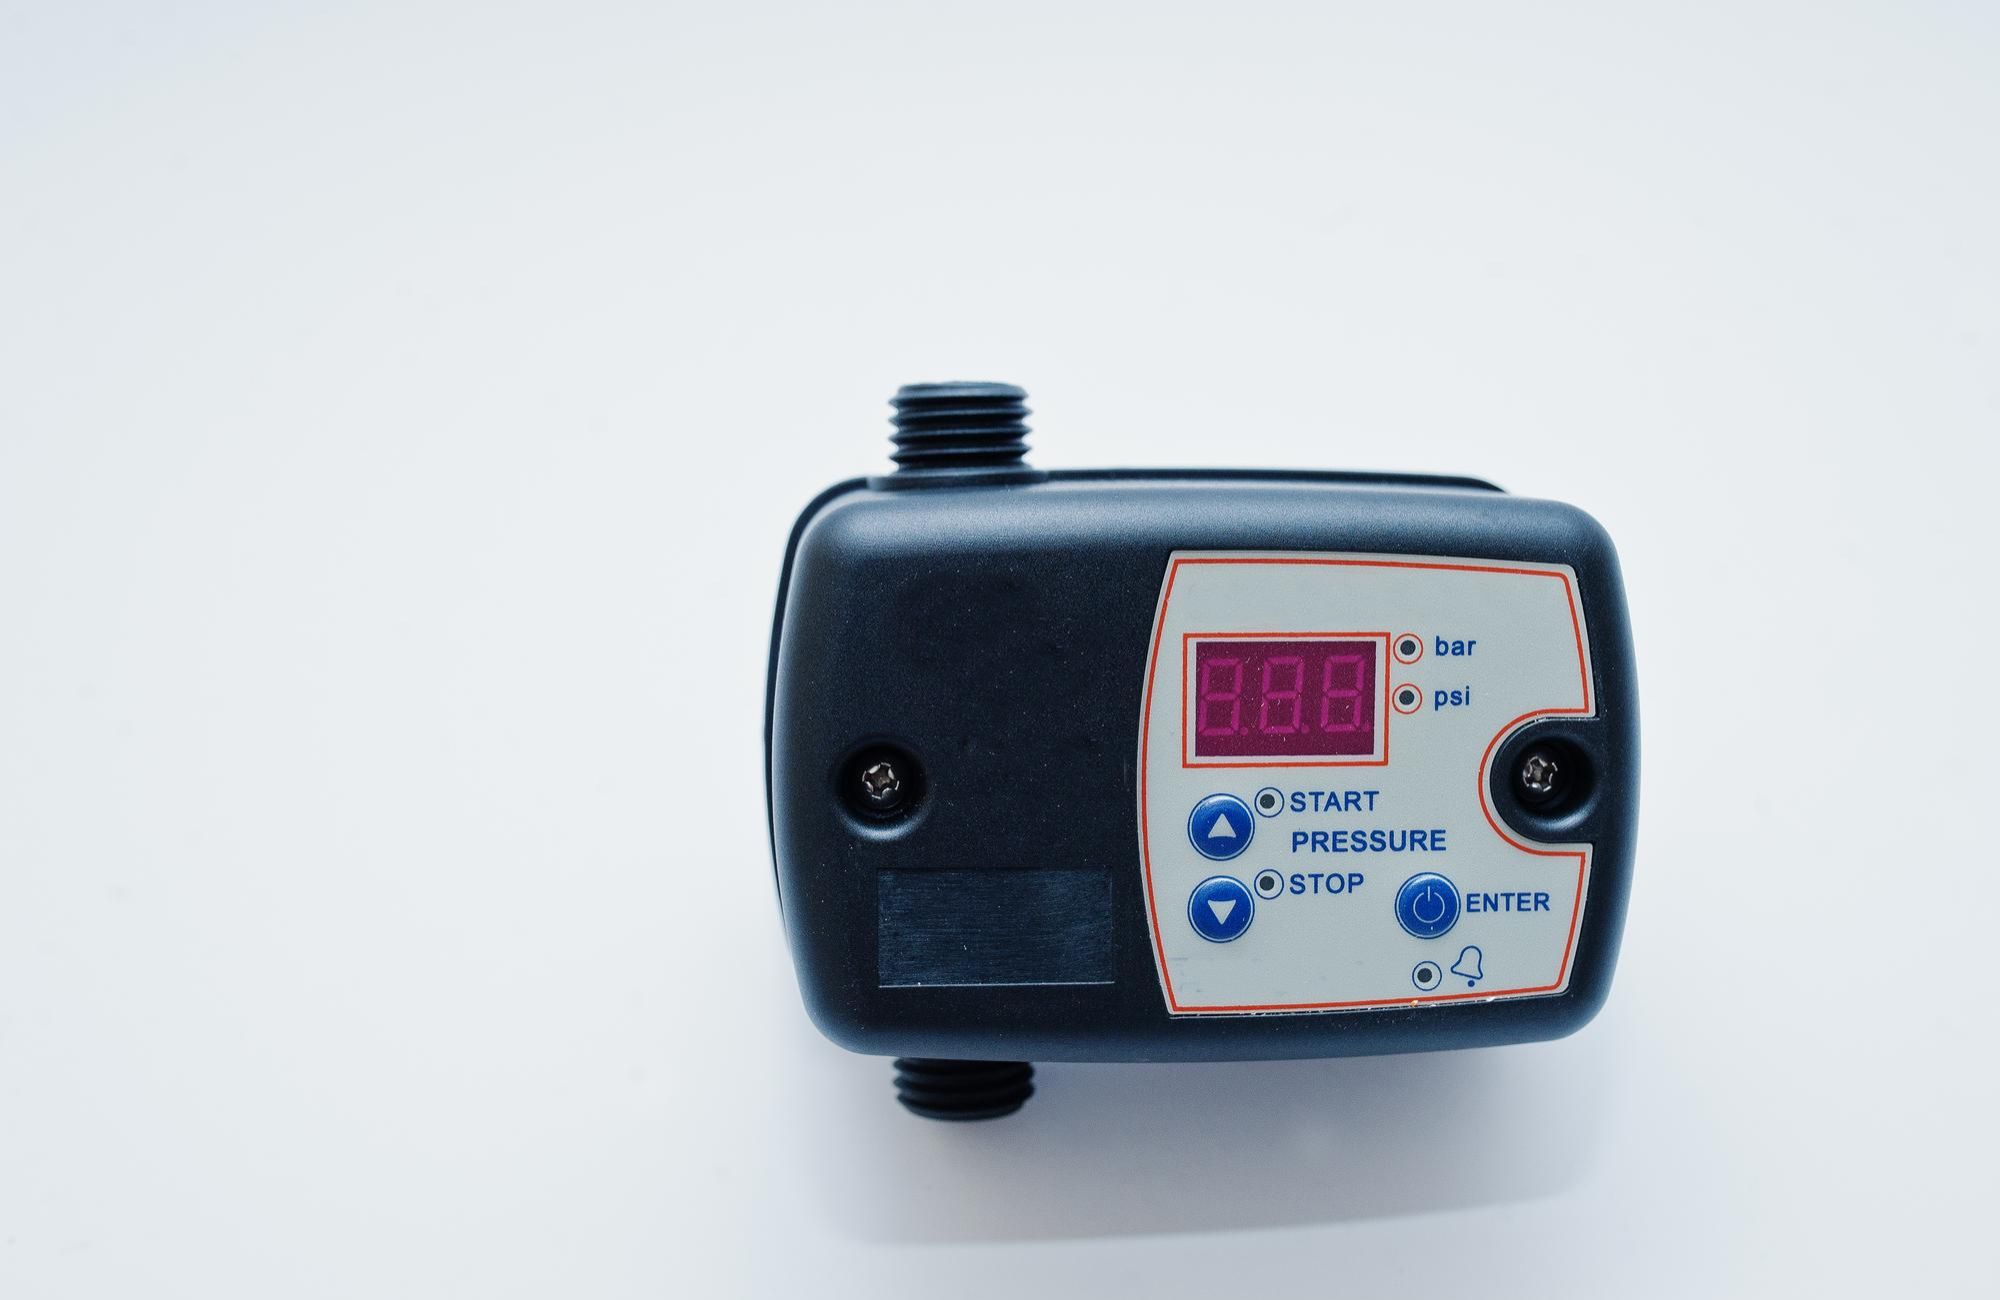
A well pressure switch is a mechanical device that monitors the water pressure in your pressure tank and controls when your well pump turns on (cut-in pressure) and off (cut-out pressure). When the water pressure in the system drops below the cut-in level, the switch activates the pump to add more water. Once the pressure reaches the cut-out level, the switch shuts the pump off.
Inside the switch housing, you’ll find a spring-loaded mechanism connected to a diaphragm that senses pressure changes. Electrical contacts open and close based on this movement, controlling the power supply to your pump. Over time, these contacts can corrode, springs can lose tension, and the diaphragm can wear out, leading to performance issues.
Common Pressure Settings
Different households and applications require different pressure ranges. The table below summarizes the most common settings:
| Setting | Cut-In PSI | Cut-Out PSI | Typical Use |
|---|---|---|---|
| 20/40 | 20 psi | 40 psi | Small homes, low water demand |
| 30/50 | 30 psi | 50 psi | Standard residential systems |
| 40/60 | 40 psi | 60 psi | Larger homes or higher water pressure needs |
Signs Your Well Pressure Switch May Be Failing
Before you start testing, it helps to know the warning signs of a failing switch. Some issues might be obvious, like your water cutting in and out, while others are more subtle.
Common symptoms include:
- Short cycling – the pump turns on and off more frequently than normal.
- Pump not starting – even when the water pressure is low, the pump remains idle.
- Erratic water pressure – noticeable changes in water flow at faucets and showers.
- Burned or corroded contacts – visible when you remove the switch cover.
These problems can be caused by issues other than the switch, such as a faulty pressure tank, so testing is essential to confirm the diagnosis.
Safety Precautions Before Testing
Testing a pressure switch involves working with both water and electricity, which means safety should be your first priority. Always follow these steps before beginning:
- Shut off power at the breaker – This prevents electrical shock and ensures the pump won’t turn on while you’re working.
- Wear insulated gloves and safety glasses – Electrical contacts and metal parts can carry residual charge.
- Work in a dry environment – Water and electricity don’t mix; ensure the area is free of puddles or leaks.
These precautions reduce your risk of injury and equipment damage, setting you up for a safe inspection.
Tools and Materials You’ll Need
Before testing, gather the necessary tools so you can complete the job efficiently. Having everything ready will help you avoid mistakes and unnecessary trips back to the garage or hardware store.
You will need:
- A pressure gauge to monitor PSI levels in your system
- A multimeter for checking electrical continuity (optional, but recommended)
- A screwdriver or wrench to remove the switch cover and make adjustments
- Sandpaper or contact cleaner for cleaning corroded electrical contacts
- A flashlight for inspecting internal components
Step-by-Step: How to Test a Pressure Switch on a Well
Testing your well pressure switch isn’t complicated, but accuracy and attention to detail are important. Follow these steps in order:
- Turn off the power at the breaker – Double-check with a voltage tester or multimeter that no current is running to the pump.
- Remove the switch cover – Use your screwdriver to carefully remove the cover and expose the internal components.
- Inspect for corrosion or damage – Look for burned contacts, rust, or debris that could interfere with the switch’s function.
- Check the system’s current PSI – Attach your pressure gauge to a faucet or hose bib close to the pressure tank.
- Run water and observe pressure drop – Turn on a faucet to lower pressure and note the PSI at which the pump activates (cut-in).
- Observe cut-out pressure – Let the pump run and note the PSI when it shuts off.
- Adjust if necessary – Using your wrench, turn the adjustment nut clockwise to increase pressure or counterclockwise to decrease it. Adjust in small increments.
- Clean contacts if dirty – Lightly sand or use contact cleaner to remove oxidation.
- Replace the cover and restore power – Once adjustments are complete, secure the cover and turn the breaker back on.
Troubleshooting After Testing
If your readings are significantly off or the pump still behaves erratically after cleaning and adjusting, you may be dealing with another issue. Common scenarios include:
- Pump not starting at all – May indicate faulty wiring, a bad motor, or a completely failed switch.
- Short cycling – Often caused by a waterlogged pressure tank rather than the switch.
- High pressure but slow flow – Could be due to clogged pipes or filtration systems.
A simple symptom-to-solution chart can help you narrow down the problem before deciding on a repair or replacement.
Maintenance Tips to Prevent Pressure Switch Failure
Preventative maintenance can extend the life of your pressure switch and save you from unexpected outages. At least once a year:
- Inspect the switch housing for moisture or rust.
- Test your pressure tank’s air charge and adjust as needed.
- Keep the surrounding area dry and free of debris.
A few minutes of maintenance can add years to the life of your well system.
When You Shouldn’t DIY
While testing a pressure switch is within the skill set of many homeowners, there are times when professional help is the safest and smartest option. If you encounter live electrical wiring, repeated switch failures, or complex pump issues, call a licensed well pump technician. Professionals have the tools, training, and experience to solve problems without risking further damage.
Conclusion
Knowing how to test a pressure switch on a well can help you diagnose problems early, maintain steady water pressure, and avoid costly repairs. With the right tools, safety precautions, and step-by-step approach, you can determine whether your switch needs cleaning, adjustment, or replacement. And if the problem goes beyond the switch, calling a professional ensures your system stays reliable for years to come.
At Housatonic Valley Well Pump, our licensed technicians are ready to help with well pump issues like low water pressure, pump cycling problems, or inconsistent flow. We’ll inspect your system, identify the cause, and provide the right repair or replacement. Contact us today for expert service and reliable solutions.
FAQs
How do I know if my well pressure switch is bad?
A bad switch may cause your pump to short cycle, fail to start, or produce erratic water pressure. Visible corrosion or burned contacts inside the switch housing are also strong indicators that replacement is needed.
How do you manually test a pressure switch?
Manually testing involves turning off the breaker, removing the switch cover, checking the pressure gauge, and observing the cut-in and cut-out points while running water. You can also gently press the contact points to see if the pump activates, but only when power is safely restored.
How do I reset the pressure switch on a well pump?
Some switches have a reset lever that needs to be held until the pressure builds up enough for normal operation. This is usually done after the system loses prime or after a major power outage. Always follow the manufacturer’s instructions.
How to diagnose a failed pressure switch?
Start with a visual inspection for corrosion or damage. Test the cut-in and cut-out pressures with a gauge. If the readings are off and adjustments don’t help, or if there’s no electrical continuity when the contacts close, the switch has likely failed and needs replacing.